Monday, 28 December 2015

Easy White Chocolate and Oreo Cookie Fudge

I love making fudge, my boyfriend loves me making fudge and ohh boy do my friends love me making fudge!!

This recipe is so simple, I promise even if you are a newbie in the kitchen you cant go wrong with it!!! And come on... How YUMMY does this look?


Ingredients:
- 400g White chocolate
- 25 g unsalted butter
-1 can of condensed milk
- 100g icing sugar
- Oreo cookies (I used about 6 but you can do a few more or a few less if you wish)

Method:


Break up the white chocolate and put in a large heavy based pot on your hob with the condensed milk and butter on a low heat. Stir all of the ingredients together as they melt ensuring everything is combined. 


Crush the oreos into small chunks so they are ready to go.


Add the icing sugar to the mix and stir it in well, the mix will start to thicken so you will need to work quickly.

Add to oreo cookies to the pot and stir in quickly. Transfer the mixture to a dish or tin. You can even use a tupperware dish if your don't have anything else. I like to line my dish in clingfilm so I can remove it easily and chop it on a board once it has set.


Place the fudge in the fridge for a few hours to set. Once it is firm remove it from the fridge and use the clingfilm to help you take it out of the dish. Place it onto a board and cut into bite size chunks.


The only thing left to do is enjoy your fudge!!! If you are feeling kind you can even share it with some friends!!! Yumm! 

This makes the perfect gift for birthdays and Christmas and is great to put out at a party.

have you ever made fudge before? If so I would love to hear your recipe!!

Also let me know if you try this one.

Hope you enjoy.

Jill XXX

Monday, 20 April 2015

Home made 'Nutella'

Hello lovely frugal living people :)

So last month I decided to have a go at making some homemade nutella, I love chocolate soooooo much and I can literally eat nutella with a spoon, but I am trying to eat healthily so I figured that making a few home made changes would help a little (and that way I can still eat chocolate).

Ok so here is the recipe:
1 cup hazelnuts
 350g milk or dark chocolate
2 tbsp coconut oil
1 tbsp coco powder
3 tbsp icing sugar
1/2 tsp salt


Firstly you need to roast your nuts in the oven for around 10 minutes until the skin starts to split and the nuts slightly brown. 


Put the nuts all into a clean tea towel and rub vigorously to get as much of the skins off as possible. 


Next throw all of the nuts into your food processor and turn it on to the top speed to blend them and turn the nuts into nut butter.
This will take between 5 - 10 minutes, firstly it turns to a powder and it doesn't seem like much is happening but just go with it!!! It will work. You know you are done when it has the consistency of peanut butter.


Add in the coconut oil (note. its actually quite solid), coco powder and icing sugar then mix for a few minutes.


While the nuts are whizzing you can start melting your chocolate at a low heat, stirring occasionally to make sure it hasn't melted. Finally add the melted chocolate to the food processor and mix for a final few minutes.


Pour the mixture into a clean jar and enjoy!!! This is soooooooo tasty on toast, ice cream, as a cake topping and just generally on a spoon!!!


this is soooooo easy to make and soooo tasty so please get making and let me know what you think :D


Monday, 25 November 2013

DIY Vinyl Black Board


What you will need
Board, Blackboard vinyl, scissors, pen, chalk

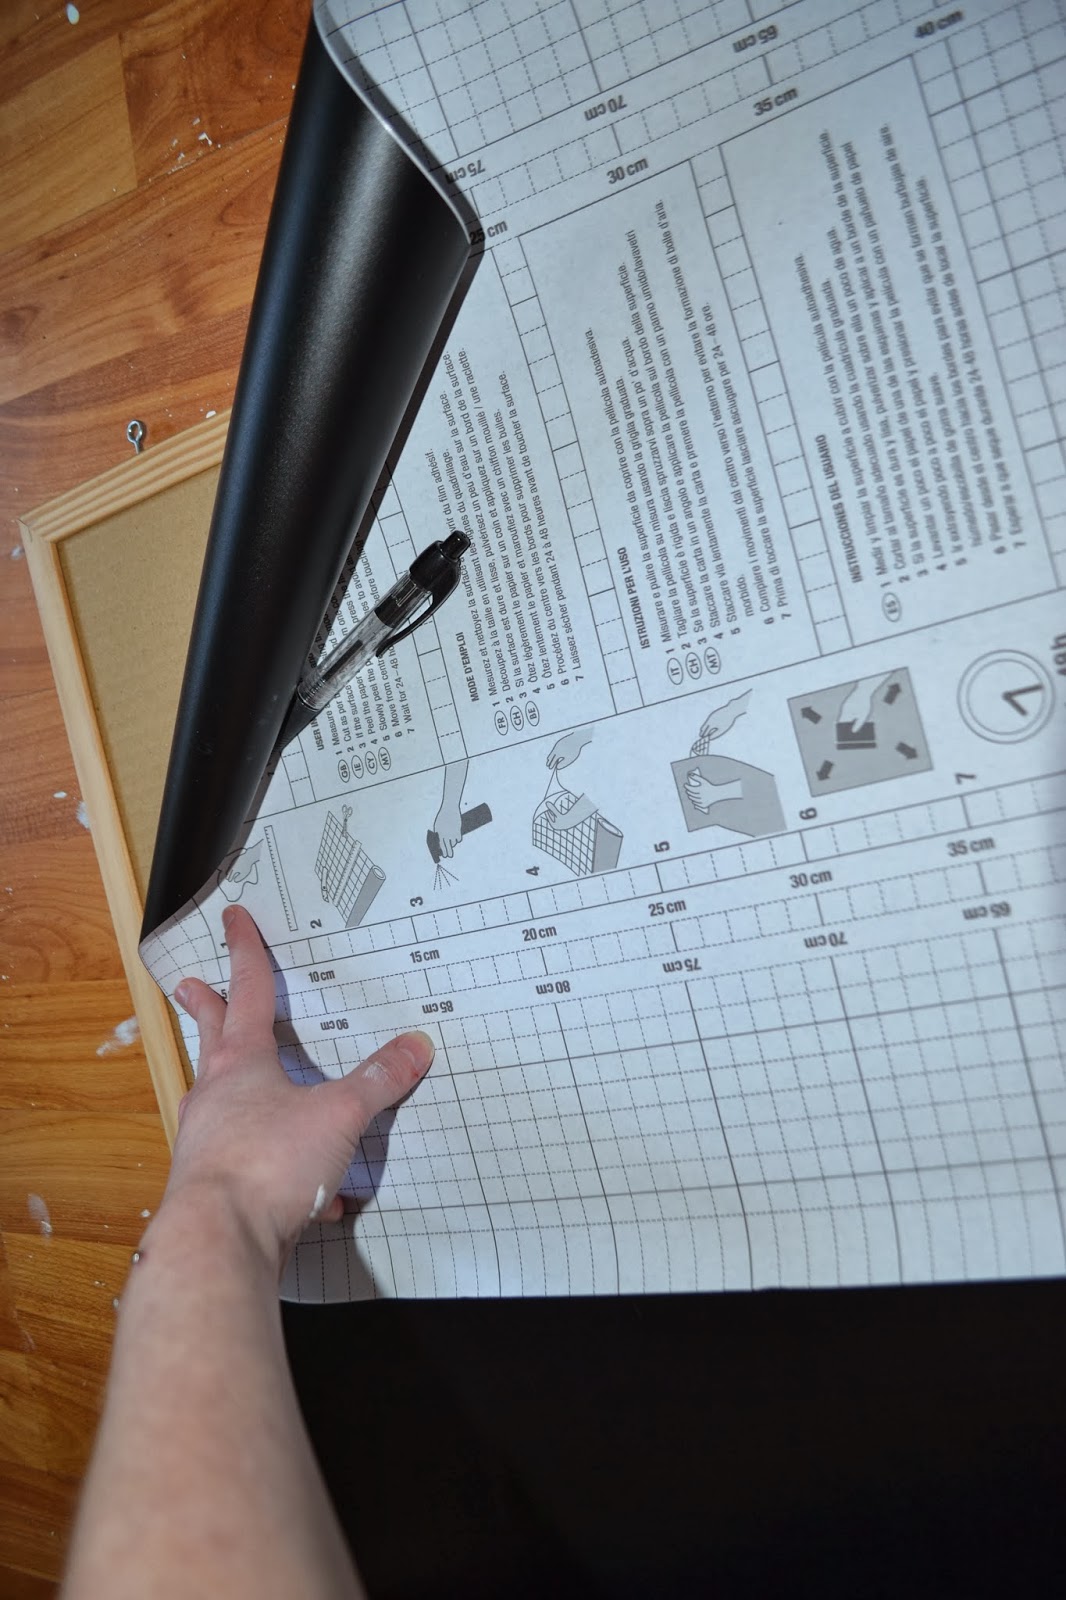
Lay out the vinyl flat on the board to measure it and mark in with the pen

Cut along the line where you have marked it

Lay it out to make sure it fits in and trim any excess 

Line up the corners and peel of the backing paper to stick it down

Ensure that you press it down firmly and ensure there are no air bubbles

Do the same for the other section of the board

Lay it out then stick it down


Hey presto its done


Hang it up on your wall!!

Wednesday, 20 November 2013

Decoupage Coffee Table

So Ive been in the flat for a few  weeks now and its all been crazy so now I finally have time to upload a few more of the things I have upcycled.

Here is my amazing peter pan decoupage coffee table :D

So I LOVE peter pan more than anything in  the world, oviously as I refuse to grow up this book is pretty much my life!! I have read the book so many times and even have a tattoo with one of the quotes on my leg. Its so well written and beautiful and is 100% better than the disney versions.

I had been trying to find an original Peter Pan book for a while but couldnt find one I liked, but my friend Mark surprised me with a copy he had found for me online. He was horrified when he realised I intended to rip it up though!


I got this coffee table from oxfam for £6 and then picked up some everywhere paint and sand paper


 Sand down the entire table then use a damp cloth to wipe off all of the dirt


Paint a layer of paint then wait overnight for it to dry and paint a second layer


I didnt bother painting the underneath as I doubt any one will wee it so I just left it at that.

Ok here is the table the right way up now, for this step you will need a book or magazine of your choice your fab painted table, a clean paintbrush, modge podge (or just pva mixed with glue) and some vanish. Also you will need sand paper but I  forgot to put it in this picture.


The top of the table was quite shiny so I sanded it down alot and wiped off the dust with a damp cloth.


I went through the book and tore out my favourite pages but made sure to keep them in order this time! 


I laid them all out in a rough order on the table to make sure I had enough to cover it then I stacked them all in order ready to be glued down.


I painted some modge podge paste straight onto the table


Next I stuck down the first page I wanted on the table


Carry on in the right order pasting straight onto the table then ontop of the pages that have been stuck down.


The table was almost done however it did have quite a few spaces


I tore out little sections of spare pages and stuck them down in the gaps


Once the table had completely dried I painted a layer of gloss over the top. I did about 3 layers or gloss, but I think I will do a few more


Sunday, 29 September 2013

Magnetic Make-up Board!!!

Hello crafty people :)

It is getting closer and closer to my move in date, and Im going mad with upcycling and crafts!! I just want my flat to be somewhere that people enjoy looking around and I want it to have one off pieces that are practical and awsome.

This leads me onto my next project!!

My make up always lies around getting in the way in my bedroom, I have a make-up bag but it all rolls around and gets dirty in it so I decided to try out a magnetic make-up board!! Its soooooooo easy to do and Im sure you will all love it!!

You will need... Some colourful paper (Im sneaky and used a wall paper sample) a magnetic dry erase board, double sided tape, selection of glues, pencil, scissors, paint, paintbrush, sand paper, magnets, makeup
You can use a metal tray, or even get a piece of sheet metal cut and put it in a frame and it will look just as fab, also I used everywhere paint as it does what it says on the tin!!

Sand around the wooden frame 

Paint the frame in any colour you like, it doesnt matter if some goes on the board as you will cover it anyway

I did 2 coats of paint to give a better coverage

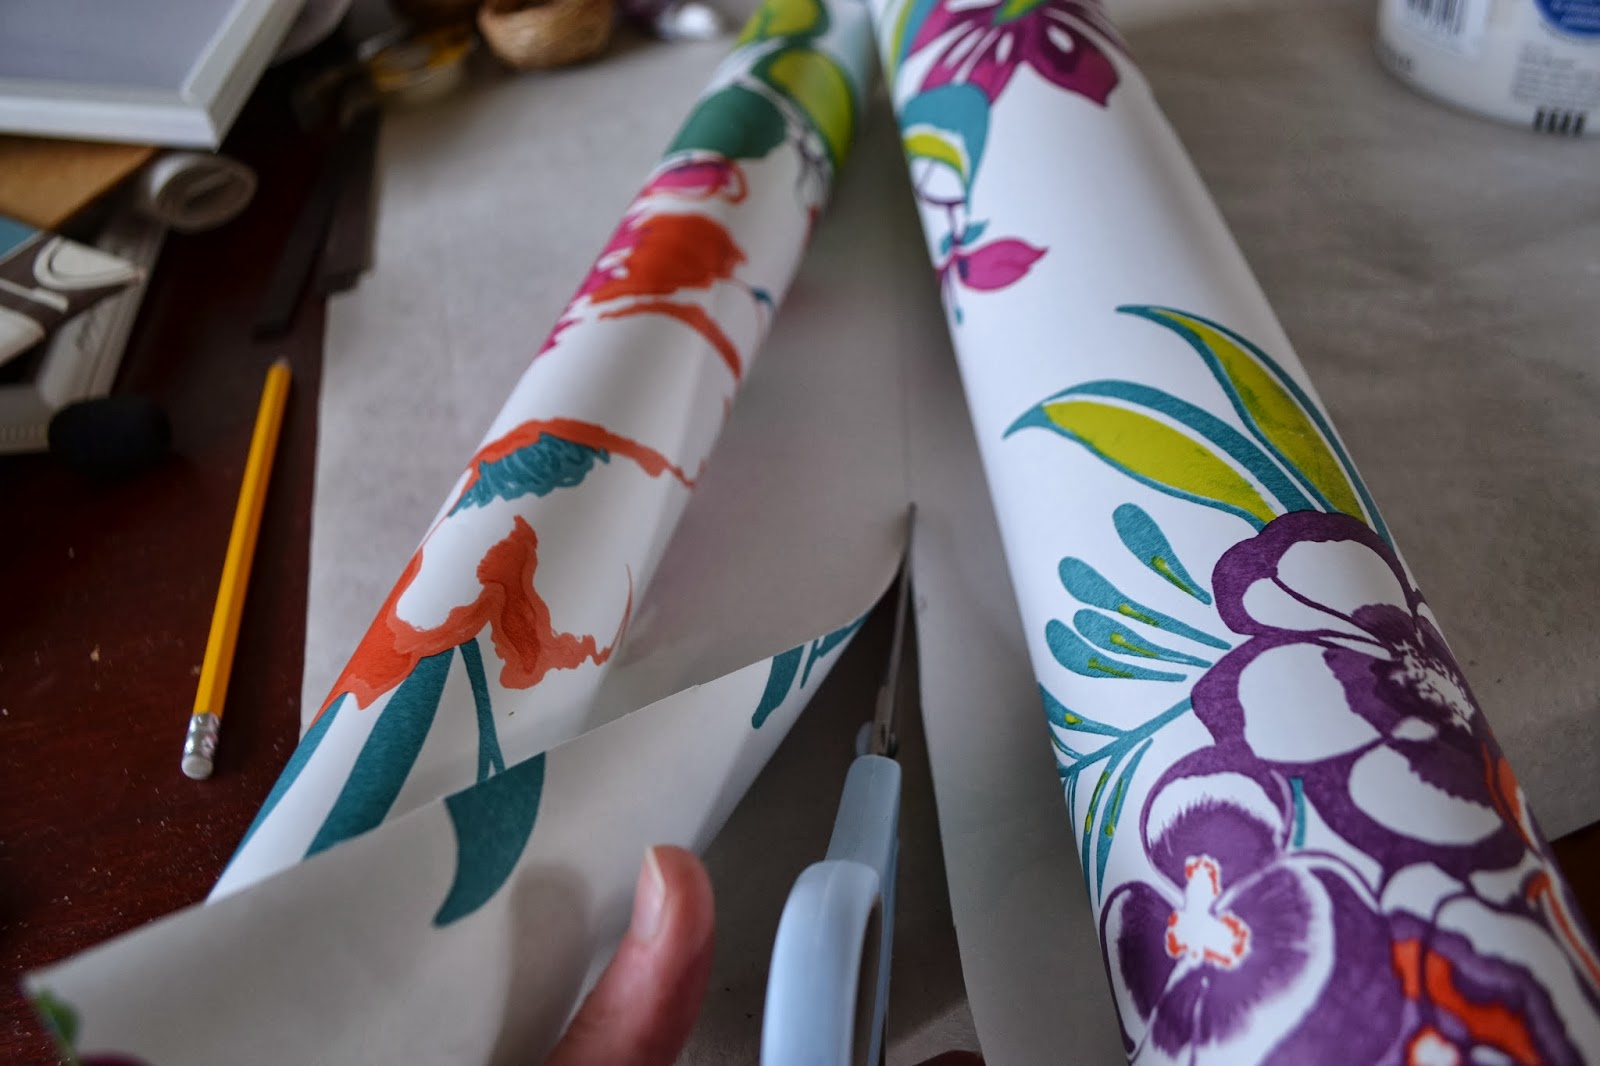
Ok you can measure the board then draw it out on the paper, this is the sensible option, however as its me I just traced around it then had a faf trying to then cut it to shape.

Cut out the wall paper

Lay it down to ensure it fits (I trimmed any excess at this point)

You can glue it on whichever way you like, but as I had pva and double sided tape I used this.
I put double sided tape around all of the edges

And PVA in the middle

Spread it evenly with a brush

Put the paper on and pres down firmly, I started with it in the corner to line it up then gently rolled it down to avoid air bubbles.

Next cut some magnetic strips to the correct size for the back of your make-up.

Use super glue to stick it on

Do this to all of your make-up pieces

Once all of the glue has dried they will stick on to the board and you can take them on and off as you please!!


ta da :) What do you all think!! Im still going to find little baskets to put on and put my make up brushes in!