Hello crafty people :)
It is getting closer and closer to my move in date, and Im going mad with upcycling and crafts!! I just want my flat to be somewhere that people enjoy looking around and I want it to have one off pieces that are practical and awsome.
This leads me onto my next project!!
My make up always lies around getting in the way in my bedroom, I have a make-up bag but it all rolls around and gets dirty in it so I decided to try out a magnetic make-up board!! Its soooooooo easy to do and Im sure you will all love it!!

You will need... Some colourful paper (Im sneaky and used a wall paper sample) a magnetic dry erase board, double sided tape, selection of glues, pencil, scissors, paint, paintbrush, sand paper, magnets, makeup
You can use a metal tray, or even get a piece of sheet metal cut and put it in a frame and it will look just as fab, also I used everywhere paint as it does what it says on the tin!!
You can use a metal tray, or even get a piece of sheet metal cut and put it in a frame and it will look just as fab, also I used everywhere paint as it does what it says on the tin!!

Sand around the wooden frame

Paint the frame in any colour you like, it doesnt matter if some goes on the board as you will cover it anyway

I did 2 coats of paint to give a better coverage

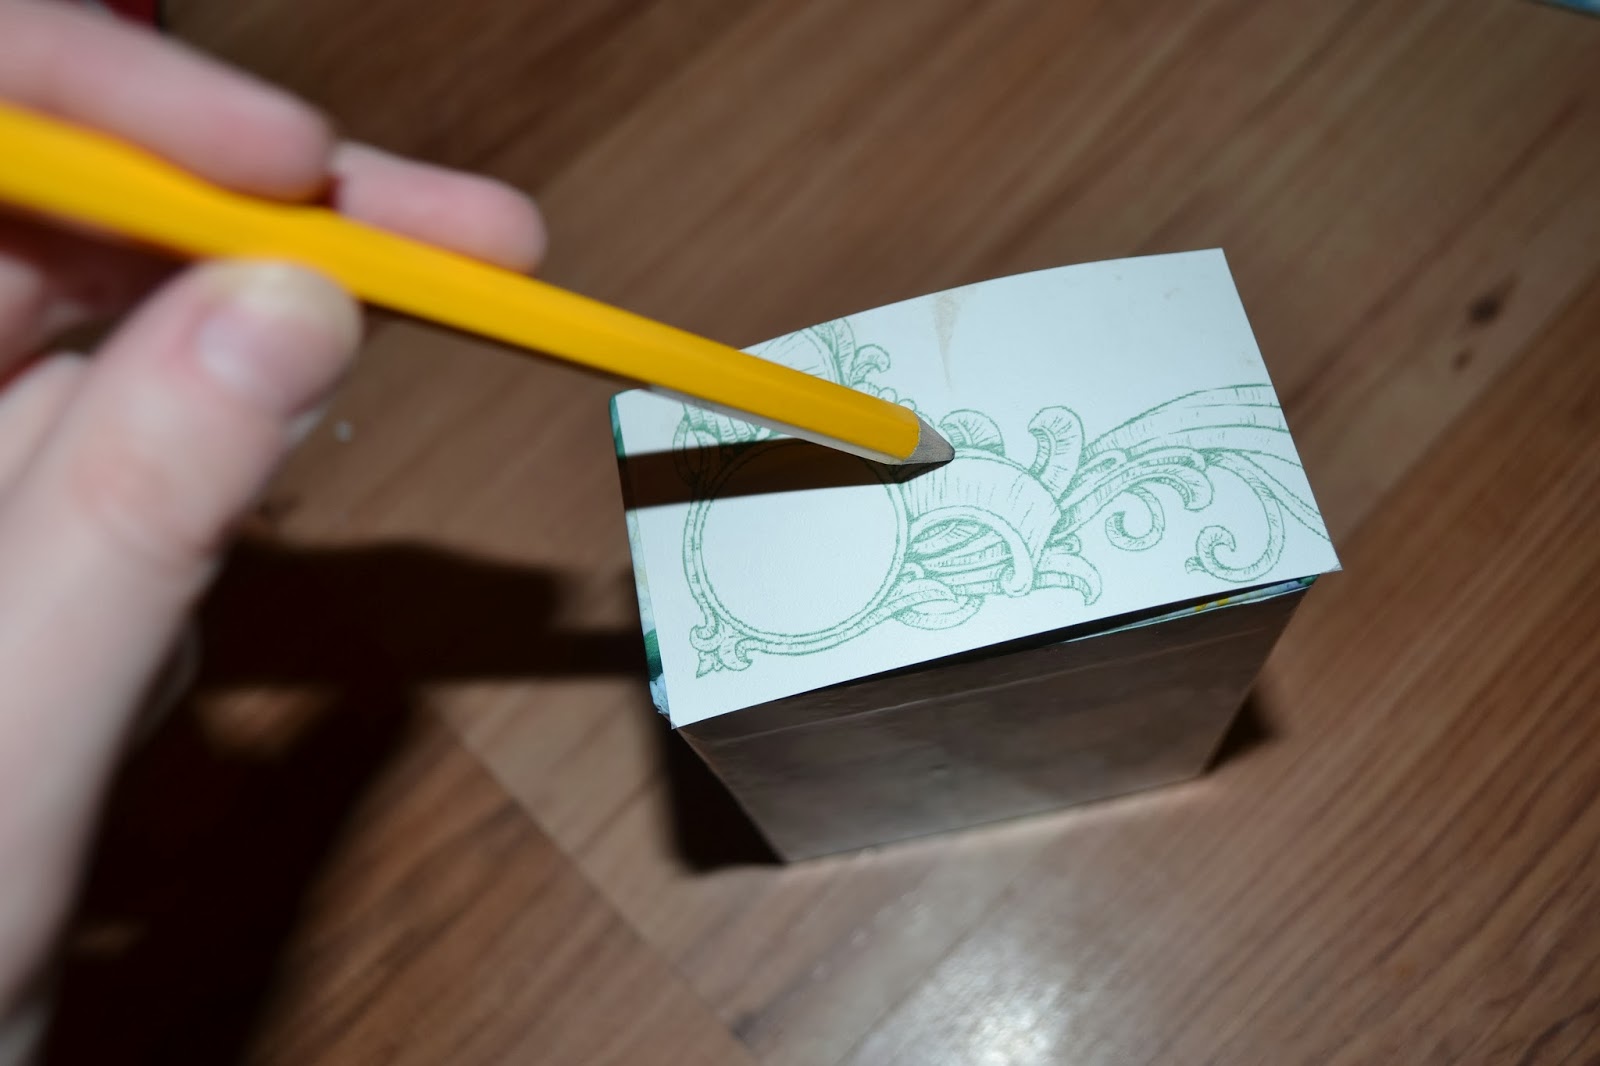
Ok you can measure the board then draw it out on the paper, this is the sensible option, however as its me I just traced around it then had a faf trying to then cut it to shape.
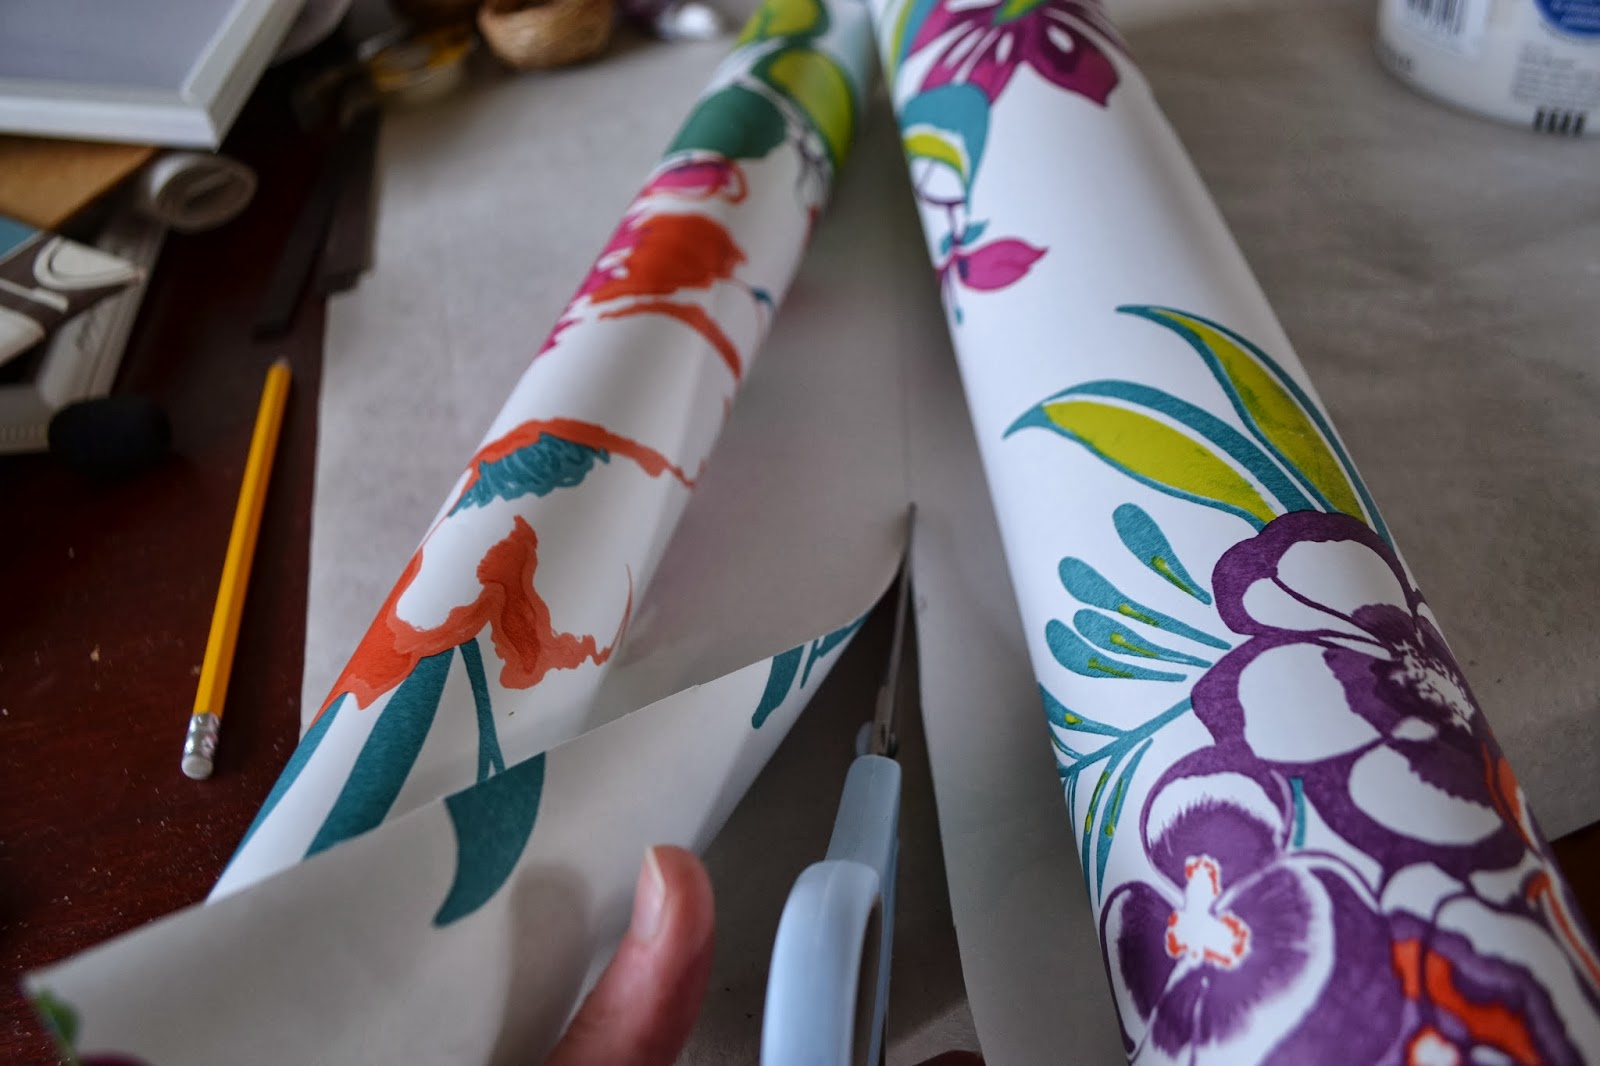
Cut out the wall paper

Lay it down to ensure it fits (I trimmed any excess at this point)

You can glue it on whichever way you like, but as I had pva and double sided tape I used this.
I put double sided tape around all of the edges
I put double sided tape around all of the edges

And PVA in the middle

Spread it evenly with a brush

Put the paper on and pres down firmly, I started with it in the corner to line it up then gently rolled it down to avoid air bubbles.

Next cut some magnetic strips to the correct size for the back of your make-up.

Use super glue to stick it on

Do this to all of your make-up pieces

Once all of the glue has dried they will stick on to the board and you can take them on and off as you please!!

ta da :) What do you all think!! Im still going to find little baskets to put on and put my make up brushes in!